

I've been working away on redesigning my website. It was looking a little dated and I knew with just a bit of photo magic I could really make the pages pop and hopefully inspire shoppers. This is the homepage with nice rounded photo corners for the main categories.

On the Bead Shop page instead of a long list of beads to scroll through, I separated the beads into categories for easier shopping. I love this page with the photos all jazzed up. It sure makes a big difference. I even rounded the edges of my banner to create a consistent look. A few other tweaks included updating the banner on my blog too and changing the background colors on my website so that it matches with the blog. Going for consistency with my visual elements here.

You can create rounded photo corners in 5 super easy steps with no expensive software required. Head on over to http://www.picnik.com/ to make with the photo fabulousness.
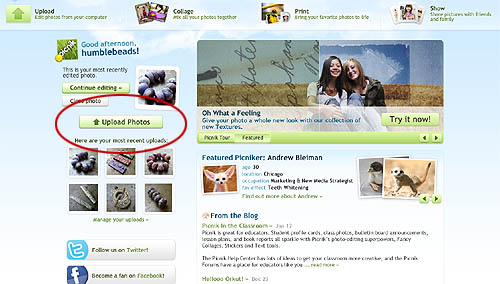
Step 1. Upload your photo.

Step 2. Your photo will be transported to the editing tab. Here you can resize your photo to suit your needs.
*For blog or Etsy photos go with 600 pixels wide. I wanted a smaller catalog image and went with 300 pixels.

Step 3. Click on the Create tab.

Step 4. On the top of the website, click on "frames". On the left-hand side you'll see the "Rounded Edges" function, click that. You can adjust how large you'd like those corners. Hit the 'apply' button when you are done.

Step 5. Click the "Save & Share" tab. Save the image to your computer.
You can also share it on Flickr, Facebook, Twitter and more - depending on what you were using the photo for.

All roundy-mcdaisy. How easy is that? Go give it a try, you'll soon be fancyin' up all your photos!