

I've been working away on redesigning my website. It was looking a little dated and I knew with just a bit of photo magic I could really make the pages pop and hopefully inspire shoppers. This is the homepage with nice rounded photo corners for the main categories.

On the Bead Shop page instead of a long list of beads to scroll through, I separated the beads into categories for easier shopping. I love this page with the photos all jazzed up. It sure makes a big difference. I even rounded the edges of my banner to create a consistent look. A few other tweaks included updating the banner on my blog too and changing the background colors on my website so that it matches with the blog. Going for consistency with my visual elements here.

You can create rounded photo corners in 5 super easy steps with no expensive software required. Head on over to http://www.picnik.com/ to make with the photo fabulousness.
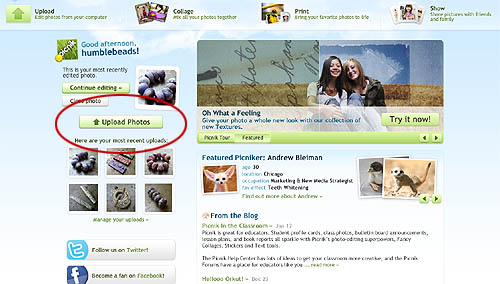
Step 1. Upload your photo.

Step 2. Your photo will be transported to the editing tab. Here you can resize your photo to suit your needs.
*For blog or Etsy photos go with 600 pixels wide. I wanted a smaller catalog image and went with 300 pixels.

Step 3. Click on the Create tab.

Step 4. On the top of the website, click on "frames". On the left-hand side you'll see the "Rounded Edges" function, click that. You can adjust how large you'd like those corners. Hit the 'apply' button when you are done.

Step 5. Click the "Save & Share" tab. Save the image to your computer.
You can also share it on Flickr, Facebook, Twitter and more - depending on what you were using the photo for.

All roundy-mcdaisy. How easy is that? Go give it a try, you'll soon be fancyin' up all your photos!
11 comments:
Heather,that's amazing&really easy when tou follow the steps.I tried it on one of my pics and there it was,rounded and much more visually appealling.Good job,Heather!
I love that! I may have to try some of that out myself! If I can ever find the time!! lol
Great tip!
You could also use http://www.roundpic.com/
:)
Thanks for the tips...I just used them on my latest blog post...I even figured out how to get rid of the border that Blogger automatically puts on. Fun! I luv Picnik!
The rounded corners look fantastic. I've just been over to your website and the reorganisation is really nice. Very easy to navigate.
I love Picnik. Just found out about this feature the other day. Pictures look great.
Heather,
Thank you for the tutorial! I am going to try it--eventually! lol!
Thanks everyone, glad I could pass that along.
I will have to check out roundpic, thanks Balanced.
Thanks for sharing this process. Your photos look fabulous. I like the rounded edges- really changes the look.
Thanks for the tip about Picnik! I've heard about it before, but never thought it was something for me as I have other programmes for photo editing to use. Now I just had to try it out and designed my new version of my blog header using it. There are so many fonts to choose between too, not just the standard fonts. Great when making a header, though I as usual didn't find the perfect one. (*hmpf* the princess and the pea..)
And, yes, rounded corners on photos makes them look so nice and classy, somewhat softened -- in just a few simple steps.
Love your pictures. Thanks for the tutorial. I am going to have to check out Picnik for editing my photos.
Post a Comment