Showing posts with label Inside the Beadmakers Studio. Show all posts

August 15, 2012

Bead Table Wednesday - Working in Small Spaces

I've had a few people ask me if I was going to start Bead Table Wednesday again and I thought, yeah, I should do that!  So here we on Wednesday and I know there is a still a faithful group sharing on their blogs, I hope they will also share on our Flickr group so we can connect again!  It's always so much fun to see what everyone is up and their messy work tables!

I'm in a temporary studio setting.  We have a large studio space downstairs.  It's the size of our main floor.  It has a nice sliding glass door to let in light.  It had the bare bones of something awesome.  And then I injured my knee and stairs are a no-no for now.  So there sits my empty studio and we work in every nook and cranny in my living and dining room. 

Since I have been making more jewelry the beads were taking over the dining room table.  We weren't eating at the dining room table and bead piles were growing out of control.  So I had Jess bring up one of my studio tables and we re-arranged the dining room to include a bead corner.  The tables we found for my studio have two leaves on both sides that fold down and can be used as a buffet if needed.

Most of my beads are stored on a large bookshelf. Nothing fancy, just boxes sorted by materials and colors. Labeled on the outside with my trusty sharpie marker to find things easier.

My essentials tools are on the table, but the big tools hang out in our pantry.  A pantry that doesn't house any dry goods, only beads, tools and various business stuff.

It's not ideal, but I wanted to share that you can be creative and look around in your current space - no matter how small - to carve out a dedicated work space for your beads.

When we were young and rented a small apartment, we used a large cubby bookshelf as a room divider and lined one wall with skinny folding tables and storage under the tables.  It didn't matter that is was a 8' x 4' space, it was mine! 

We hope to move soon and that our new place will include a room that we can use as a dedicated studio/office.  I can't wait to stretch out again.  And more importantly have a door that closes at the end of the day and I can separate from work at night.

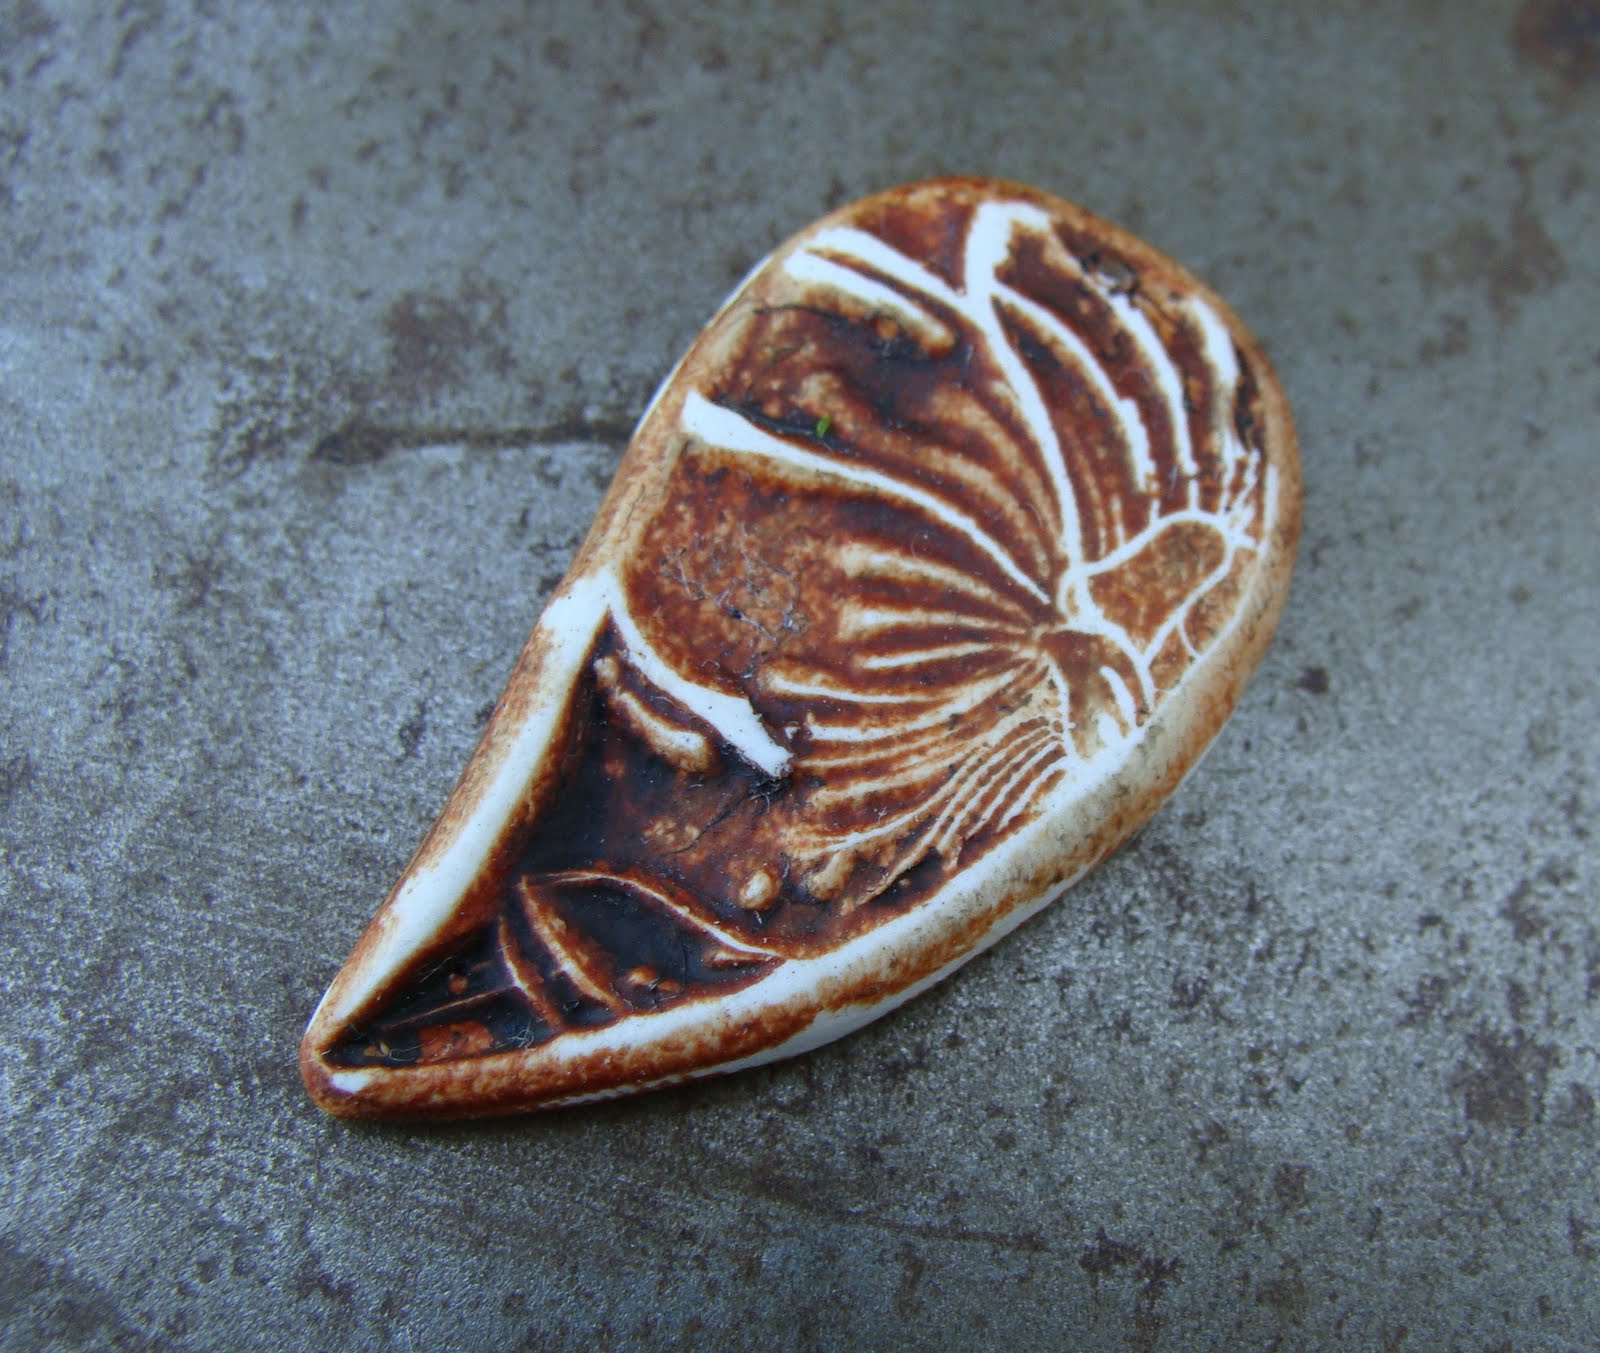
And what kind of beads are on my table? Just orders mostly getting ready to head out across the country.  I do have these that are heading into my Etsy shop soon.  Queen Anne's Lace have been one of my muses this summer.

So what's on your Bead Table today?  Check out the Flickr group to see what others are creating and to add your photos.

September 7, 2011

Bead Table Wednesday

It's Bead Table Wednesday and today's edition is coming to you from my temporary studio in Michigan.  I enjoyed sitting outside on the deck this morning and snapping these photos. Loved the chilly morning photography session - heavenly!

These are beads that are on the cover of my book and can now be found in my Etsy shop.


I also pulled out some autumn colored beads in coppers and purples.  Loving this combination for fall - it reminds me of stormy October skies with bright orange leaves clinging to the trees.

And here is some of the flora from my sister's garden.  It's her flowers that are featured in the garden section of my book.  I'm staying with my sister for a few weeks until Jess moves up here with the rest of our belongings.  My sister is as talented in the garden and kitchen as I am in the studio - it's a very enjoyable visit.

And the view from my studio.  I love looking out the window and seeing water.  In fact, nothing makes me happier - except for the first day I look out and see snow - I can't wait!


Here is a short video of my studio set up - my apologies for the video cutting off at the end.  I'm still learning how to put together the videos.

So that's it for my first Michigan edition of Bead Table Wednesday.  

Check out the flickr group to see what other bead addicts are working on this week.


February 23, 2011

Bead Table Wednesday - What the Frack?

Today I thought I would show you one of my other tables - the clay table.

As you can imagine this is where I actually spend most of my time.

And this is no camera trick - I actually cleaned off my clay desk last week. (And it's still clean!)

This is an older photo of my clay desk, but it pretty much looked like this last Friday!

My scrap pile - there is no waste with polymer clay.  I glob my scraps according to colors and Jess mixes them for me while he watches cat videos on youtube.  I cover this with wax paper to keep out the dust bunnies.

The whole bead table - just to show you it wasn't a trick!

These are all my canes - wrapped in wax paper.  I always store things according to their use - so the canes I use the most are on top and closest to me.  (For those who don't speak clay - canes are long tubes of designs that I cut into paper thin slices and apply to my beads.)

Clay wrapped up - clay doesn't dry out, my only enemy is dust.  The lower right-hand corner is one of my texture plates, reclaimed from an old window blind sampler book that Jess brought home from an interior design office.  (He collects the weirdest and best stuff.)

Molds and rubber stamps.  I have a few of these baskets hanging on my pegboard - but these are the ones I use the most.

And on the beady bead table - these incredibly awesome lampwork beads from my friend Genea!  Oh how I love her work.  I keep staring at these two sets - they are perfect.  You know how you get those beads and you are afraid you won't do them justice, so you just stare at them.  This is one of those sets.  I'm thinking they need to be paired up with one of my new starfish pendants though.

Check out Genea's beads & blog.

So dear friends - what's on your Bead Table?

Check out the Bead Table Wednesday flickr group and add your photos. 

And bonus points for messy desks - they are my favorites!

P.S. If you have clay questions check out the very helpful forum and articles at Polymer Clay Central.

February 7, 2011

Bead Storage

I am organizationally challenged.  Just ask my mom, who cleans off my bead table every time she comes to visit.  Of course, we won't mention that she picks her favorite Humblebeads that are on the desk and squirrels them away.  After all, finders keepers...

You may see the photo above and think, well Heather you look pretty organized to me.  And with this little corner of my studio I am!  I organize my stones by color.  Pearls, wood, crystal, Czech glass and each of my metals get their own boxes.  I have 2 boxes of art beads from other artists and then my inventory is stored in another part of the studio. I do have each box labeled and in theory the label is suppose to be easily read when I glance down at my shelf.  Theories, folks, theories. 

This shelf is under my work desk and offers easy access while I'm creating.

Now onto the problem:

Did I mention things that are good in theory?  I have two tables in my studio covered in beads.  The future dig sits. One day I am going to make an archaeologist very happy.

Combine a shortage of time with ample work space and no motivation to pick things up and that is what you get.  I'm showing you in hopes that I will change my evil 'I-don't-put-my-beads-way' ways.  But let's face it, I would rather sit down and make a necklace for an hour than dig my way out. 

Do you pick up as you finish a project or am I alone in my wonderland of a bead table mess?

March 12, 2010

Studio Tour Part 2

Here is a quick go around in my clean and organized creative space.  I have to type that just to make it feel real.  This place has been a scary mess for so long, I forgot I had hardwood floors!  I am ordering a cushion for my window seat.  Yes, the table skirt above is a cover up job for Jesse's junk under his desk.  I can lead a horse to water, but I can't make him organize. That's his corner behind my island.

On the other side of the window seat, a new book shelf that is filled with my art, craft and reference books and magazines.  And look, you see that empty stop? It's just begging for an oversized fluffy chair for day dreaming, isn't it?  I think so.  That's my next hunt.  Love the inspiration board and shelf.  A much needed item in any studio space.

Do you remember how this looked the other day?  No? Well scroll down to see the shameful mess!  Of course, sensible things like ironing the silk before I hang it up escapes me.  But I try.  This little skirt is not hiding a mess, just some ugly items that don't need to be on display, like stacks of printmaking materials and a few extra pasta machines.  Oh, look - I'm now a two oven bead studio, fancy I know.

And because I'm as much about the business as I am a creative, I have my little office on the other side of the studio.  The computer is a recent upgrade from my dino-bot, but as you can see it's not top of the line over here.  It works, the price was right (free) so what else can I ask for!

I made a necklace today and it was super easy to find everything and clean up when I was done.  My mom is here now, she is making a mess on my table.  I'm holding my tongue. And pawing through her beads when she's now looking.  We are having a super fun Rings & Things Bead Soup party tomorrow.  We'll share pics and maybe even a video on Monday!

Until then my friends, reap the benefits of my clean studio.  Here is a wonderful pile of disk beads that have been rustled up from all corners of the studio.  Any order from either my etsy shop or website will receive a set of 3 coordinating disk beads.  No discount code needed, any order placed until Midnight on Sunday will receive a free set!

March 11, 2010

Studio Tour Part 1

Okay, the tears have dried.  All the beads have found a home.  The broken window has been replaced - tip - don't lean shelves near a window.  I'll show half the room today and the other half tomorrow.
The board has been filled.  We are going to repaint it later.  I'm okay with the green during the day, but at night the color in here changes it too much.  It's organized so that the tools and items I use the most are at the end of the board and lower.  Things not used as much are toward the middle and up higher.  One of my goals for my studio space was to really think through how I work and ways that will help keep this place looking like it does today. A magnetic strip holds my pliers. And there is some cork board for hanging a few pieces of inspiration.

Like I said the other day, the island is created from two shelves put back-to-back.  One side houses my beads, metal stamping tools and the bottom shelf has seed beads, tools I use less often and a tray of projects in progress.  Again, it's orgazined so that the items I use most are at the top.  I organize my beads by color, except wood and pearls have their own trays.  One the top of the desk, in the ceramic egg cartons I have art beads from various artists. 

The other shelf is stores polymer clay and shipping.  The top shelf has trays that hold canes, beads in progress and mixed colors.  Tools I rarely use are stored here.  Everything I use to make beads are stored on the shelf within easy reach. The trays of clay that you see uncovered are usually covered in wax paper, it just didn't make for a good photo.  Envelopes and packaging material are on the bottom, along with trays of orders that are ready to ship out.  Some of my inventory is stored over here for easy packing. New for me is the glass cutting board used to protect my table when I make beads. 

This room hasn't looked this good since the HGTV camera crew came to film my episode of That's Clever!

March 9, 2010

Studio Makeover

Well, since Tari aired her dirty studio on the ABS this weekend, I thought I'd share some of my real world studio pics. While I'm a create-in-the-clutter kind of girl myself, I find that I need order and mental space to work productively on my book.  So for the last 3 days we have been working like little pups trying to get this room cleaned out, organized and add in some new elements. It helps that my mom is on her way this week and that was a nice deadline.

I work horizontal, with everything spread out and piled around me, while only working in a very small space.  This system is not very effecient and more out of habit than anything else. My bead table was a similar monster. I worked on a bead board and the rest of the 4" table was just piles and a mess.
After talking with a good friend about studio spaces and work habits, she suggested I get a peg board and store things vertical, still out in the open and visible but leaving me with more table space to work on.  The other idea I had for the space after my last studio overhaul was to create an island with shelves underneath.  And hey, that's just what we did!


So here is a sneak peak.  I'm still trying to decide if I can live with this bright and funky green.  The walls are a very washed out teal and I thought the green would bring in some energy, but I think it just gives me a headache. I may paint it teal.  But the jury is still out on that one.  It's a little more of a yellow-olive green, the color in the photo is brighter than it acutally is.  But moving on, look there is my island!  We used two small shelves underneath and a salvaged office work surface. 

Okay, you will have to come back tomorrow to see more photos.  It looks so different now.  All the tools are on the peg board.  We installed a shelf under the board for more storage.  We put in a window seat/bench/bookshelf dealy in front of the two large windows.  And hey, it's clean now!

July 31, 2009

Studio Tour Dreams

1st the winner of the Studio Tour grand prize, (a $50 grab bag) is Sharon from Live Wire Jewelry!

I want to thank everyone who stopped by during my studio tour. I loved reading all of your comments and visited the blogs you shared with me. I didn't get to comment on every one, but I did stop by.
This is the complete layout of my studio, in case you were wondering. I also have a large closet, that is a challenge for another time!
Now that the studio is clean and organized, I've been thinking of how exactly I use this space. How to make it more functional, inviting and inspiring? I was looking at my window, thinking how much I'd love a window seat and them blam. Oh, am I not married to a sculptor who worked in a cabinet factory for years when he was in college? Why yes, yes I am! So I showed Jess my plan last night and he was jazzed.
This will be our project for September. Along with the window seat, I want bookshelves on both sides and window seat to be a long bookshelf for extra storage. (We have a lot of books!) And then I thought, well since we are building things I want to an island/work desk with cabinets underneath for all my storage. So that's the plan.
Dream Studio Layout

I'm off to work on getting ready for a children's book conference in LA next week. My shop will close the 5th - 13th. I know, Humblebeads are a rare bird this summer. So the free shipping will continue until Monday. Have a great weekend!

July 29, 2009

Studio Tour: Storage

One of the hardest parts of being a bead artist is finding a good storage system that works for you. I'm more of the 'it's cheap and on-hand' kind of organizer. Most of my beads are stored in those clear plastic containers. I have them divided by colors. I have a box for each color of findings: brass, copper and gunmetal/silver. I have two boxes with art beads from my favorite artists. I have seed beads in those clear shoebox size containers. They are wrapped in rubber bands according to their color or if they are in small baggies, they are bagged together by color.

Stringing materials go in a handy adjustable tray organizer that I found in the housewares section at Walmart. I think it was for silverware.

My stash of clay is stored in these metal file drawers that I picked up for a few dollars at the goodwill a long time ago.

I store my canes and mixed colors on metal in/out boxes that I picked up at Office Max. They stack up and save space. Sheesh, you'd think I would have straightened out the rows for the photo at least!

You've seen trays and dishes stuffed in every corner of my studio. Above is one of my favorites. These are ceramic "egg cartons" that I found at Hobby Lobby in the spring/Easter displays. They are perfect for works-in-progress or to catch extra beads that need to be put away.

Now Jess is way cheaper and craftier than me. He just recycled the salt container into a pencil/tool jar by cutting off the lid.

Do you have a crafty/out-of-ordinary storage idea that you use for your beads or art supplies?
Okay, now for the grand prize to celebrate my studio tour and open house!
One lucky person is going to win one of my bead grab bags. These are filled with $50 worth of beads!
How do you enter?

One entry: make a comment on one of the Studio Tour posts to enter in the grand drawing.

Three bonus entries: you can earn an entry for spreading the word about my tour on your blog, facebook page or twitter. Just leave a comment to let me know you did.

When? You have until tomorrow at Midnight. On Friday morning I will announce the winner!
Thanks for joining me today. I hope I provided some inspiration, I know I enjoyed each comment and feel inspired too!
The next winner from the 3pm post will be announced in just a few minutes.

Studio Tour - Inspiration


I am a big fan of filling your space with inspiring objects, art work and images. You need a visual feast to feed your inner artist.

I'm a also friend of the bowl o' goodies. I collect ceramic dishes, both commercial and handmade, to fill up with treasures. Picture above: in delicate lotus shaped bowls I keep the beginnings of a few projects I will work on soon. A bowl of urchins, how I love those urchins! A tiny bowl is keeping a precious little stone collection, moments from one of my days at the beach in Michigan. I have a abstract leaf dish that is filled with Humblebeads that I have stashed away.


In my studio I have a large inspiration board above my clay table. I pin up projects that I'm working on (waiting written instructions), my fav photos, clippings from books, other artist's beads and artwork.

Yes, that is where I make my beads. Nothing fancy, just a simple set up with easy access to everything I need. It looks a little bit different when I'm in production mode. I fill up trays and trays of beads for Jess to roll or that I need to paint. And then everything starts to fill up the table behind me. (You'll notice an abundance of wax paper, keeps the dust out of the clay.)

Birds are tucked into little corners all over my studio. This one came from my grandmother. On these little shelves I keep glass jars of some of my favorite beads. They are in front of cork boards that display a collection of sundries.

And then there is Jesse's corner of the studio. Which is really a giant sculpture installation, isn't it? Behind this desk sits a very large book shelf, filled with all sorts of wonderful inspiration. Jesse's half has art history, religion and philosophy books. My half has bead magazines, bead, craft and business books. The top of the bookshelf houses my sketchbook collection.

Well, I don't know about you, but thinking so much about my studio has inspired me to the next level. I'm ready to repaint, I have a nature/bird/tree theme in mind. Hmm, I need to finish the closet and keep going in here!
Has this studio tour inspired you? Leave me a comment to tell me what you'd like to do with your work space or if you plan on leaving the chaos in all it's glory because that's what suits your creative needs best. One random commenter will be drawn to receive this pair of earrings, again inspired by Denise Peck's 101 Wire Earrings and a matching lentil bead.
The winner from the tools tour will be posted in just a few moments.